Taco night happens once a week at Chez Gourmess, and now we've added Asian food night to the round-up as well. I love cooking with all of the Asian spices and sauces -- they really give you the freedom to use as much or as little as you want, and I love putting a bit of this and a pinch of that together until the flavors meld into something that tastes out of this world.
Here are a couple easy and satisfying dishes I've made recently:
Kimchi and Tofu Fried Rice
We had kimchi (fermented cabbage mix) left over from making
Khao Soi (Curry Noodle Soup) and I had a package of cubed, firm tofu in the fridge, so I thought fried rice would be a quick and tasty way to use them up. I heated about a TBS of vegetable oil in a large wok-style pan, and when it was hot, I added the tofu (which I had marinated in soy sauce for a few minutes and then drained) to the pan, sautéing until browned and a bit crispy. I removed the tofu with a slotted spoon and set aside. Back into the pan went another TBS of oil, about 1 1/2 cups of roughly chopped kimchi, a minced clove of garlic and two teaspoons of red chili paste. Once the cabbage was heated through, I added in about 2 TBS of soy sauce and a couple teaspoons of hoisin and then stirred in about 4 cups of cooked brown rice (I love the frozen bags--they take 4 minutes in the microwave!) and let cook for a few minutes. I moved the rice mixture over to one side of the pan, then added two eggs, which I had lightly whisked beforehand. I stirred the eggs gently until they were almost set (about 2-3 mins) then mixed them into the rice. I added the tofu and a TBS each of sesame oil and fresh lime juice, then stirred one more time before plating.
I served with crushed peanuts a wedge of lime and Thai peanut sauce on the side. It was really tasty and I made a mental note to cook with tofu more often.
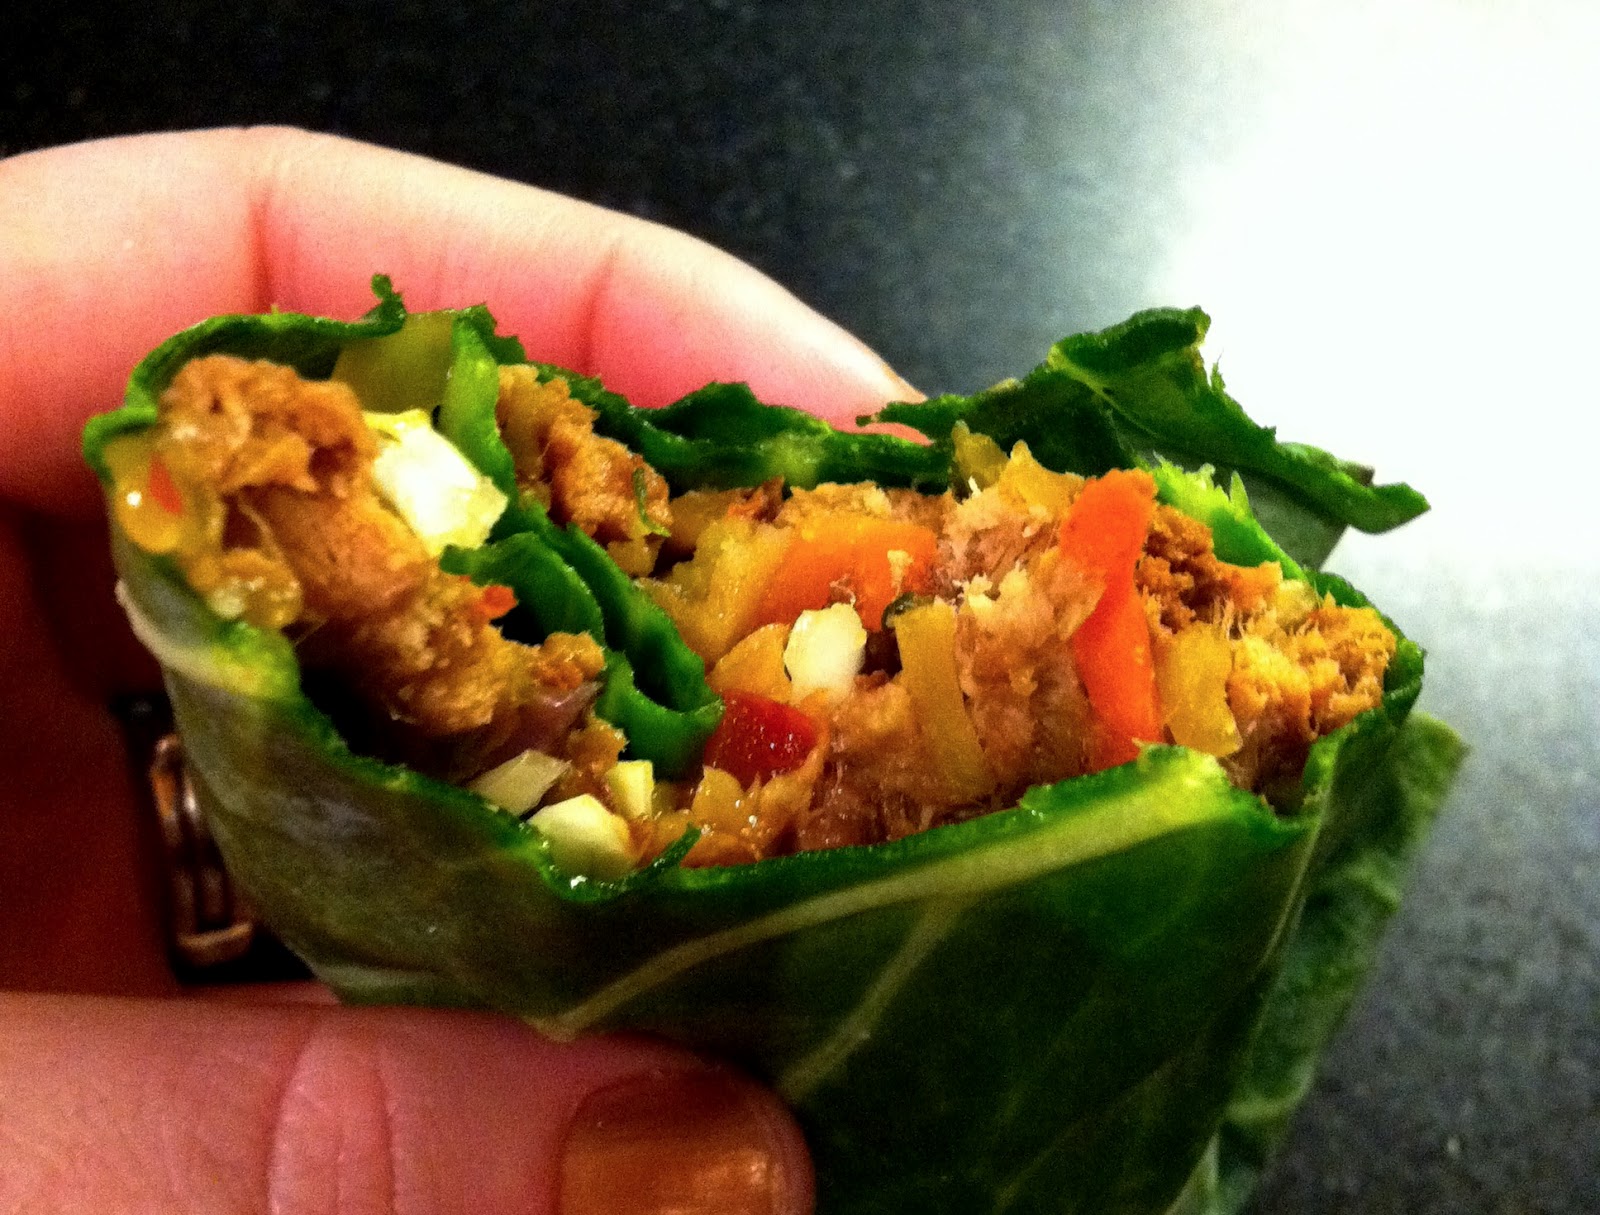
Ginger Pork Cabbage Wraps
I received a huge head of green cabbage in my latest organic box, so I thought perhaps cabbage wraps were in order. But, I couldn't make my
Cabbage Wraps with Ground Turkey and Mango Salsa because I didn't have any ground turkey or chicken. I did have a pork loin, so I thought I'd throw it in the crock pot with some spices and sauces (a few pieces of fresh ginger root, a couple cloves of garlic, a large piece of candied ginger, 1/2 cup of soy sauce, 1/2 cup of rice wine vinegar, 1/4 cup of sesame oil, 2 TBS each of brown sugar and chili paste) and then use the shredded meat in the wraps. I put the pork in the slow cooker at 8 p.m. and set it on the 10 hour setting. It was torture smelling it cook all night...but I was rewarded with a lovely, moist piece of pork that was falling apart even as turned it over in the pot.

I poured the pot juices over the meat and let marinate in the fridge all day. When I got home, I took the meat out and shredded it into bite-sized pieces, then tossed in a pan with some julienned cabbage and carrots (a great way to use bagged, undressed "coleslaw mix"), 2 TBS each of sesame oil, mirin, and soy sauce, 1 TBS of brown sugar, 2 teaspoons of garlic powder, 2 teaspoons of minced ginger and chili paste and cooked until coated and warmed through. I placed a spoonful of meat inside a cabbage leaf, topped it with cilantro and crushed peanuts and some mango salsa. I think it might be even better than the turkey version. Delish.

Chris and I ate the wraps standing in a mini-assembly line in the kitchen. We had bowls of cilantro, crushed peanuts, chow mein noodles, cabbage and carrots to choose from, and a choice of soy sauce, sriracha, peanut sauce and the mango salsa for the topper. Chris made some summer rolls with rice paper, sautéed shrimp, cilantro, chow mein noodles and cabbage--his were so neat and tidy compared to mine.
We drank a cocktail made of gin, lime juice and ginger-infused club soda (I put some water and ginger root in the blender and then used our new soda maker to get it all bubbly) with our wraps and rolls. What a fun night!
And, now I've found two more great ways to enjoy Asian cuisine.
xoxo